
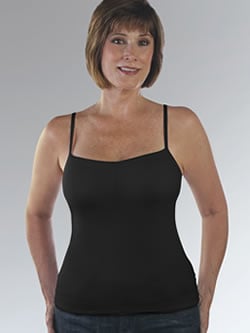
Although we love women’s clothing, we know that we can’t always wear them – especially when we’re away from home and in environments where crossdressing is taboo … An interesting tip for outwear is to wear satin shirts – a very feminine fabric ...
Learn how to crossdress and exude femininity. With some practice you could even pass as a woman in public.

I'm excited to present a new voice on Crossdresser Heaven. Tabitha has kindly shared her insights on a subject near and dear to most of us as she shares her perspective on choosing the perfect panty. This is well worth a read if you've ever struggled in the women's lingerie secti...


Have you been out dressed in public before? If you have you probably know the fear that comes with taking those first steps out into the world, and the constant anxiety of being read. Passing in public is the holy grail for crossdressers, but too many see it as an impossible c...

I gazed around the room. Every lady was well put together – to an individual her outfit was coordinated and appropriate to her build. Her makeup was subtly and carefully applied. Her hair styled with the love of a salon owner. These ladies had clearly learned how to crossdr...

In crossdressing, as in life we need to celebrate every step on the journey. Do not be discouraged when you're not perfect, be encourage by what you learn.
You ladies are in for a treat today! After a few months of cajoling my beautiful wife agreed to write an article for Crossdresser Heaven. Not only does she bring all the insights of gained growing up as a girl, she has an uncanny knack for choosing great colors! Perfect for today...

Did you look like a cyclone warning the first time you tried to do your hair? Of all the mysterious things about womanhood, the secret to a good hair style is perhaps the most elusive for crossdressers. Many of us enjoy long hair just once a month, and often without the nurturing...

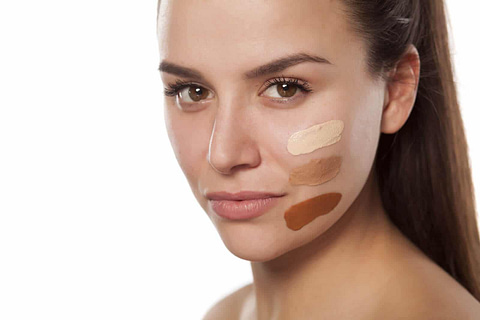
Concealer and foundation cover discoloration, even out skin tones, and smooth skin’s surface. There is a multitude of formulas and colors to choose from, which can get very confusing. Concealers come in creams, sticks, or liquids. Regardless of formula, the key is to find a sha...

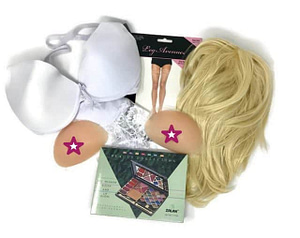
This weekend was a cornucopia of transgender bliss. I spent most of Saturday and Sunday as Vanessa, wore a cute green dress I bought a few weeks back and finally figured out how to use the Nubra to create cleavage (a future article for sure). It’s Sunday morning as I’m writin...

Amidst the plethora of makeup brushes Christina has narrowed the list down to four “must haves”, with a few “nice to haves”. The must haves include a powder brush, blush brush and two types of eye shadow brushes.


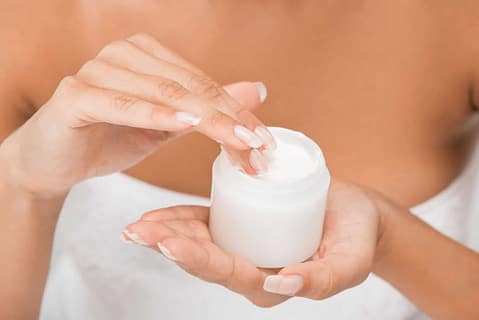
Some of the usual complains I hear about makeup are: “It changes color,” “It fades,” and “It slides off my face.” The problem isn’t your makeup. It’s your skincare. Skin that is dry will suck the moisture out of your foundation; thereby, changing the color or caus...

A few months back I was watching a video on the Internet describing how to take care of your skin. The video was for men who wanted to look more feminine – I’m always pleased to see such advice published. However I was horrified when they advised that we use toner after put...

There was a catchy song I used to listen to when I was younger. The lyrics were nothing to rave about, as over and over they proclaimed ‘If you buy this record your life will be better’. Yet the tune was hypnotic, and perhaps some subconscious part of me that longs for approv...
How To Look Like A Woman – A Cross Dresser Skin Care Routine
Your face is a window to your femininity. A good cross dresser skin care routine is important to maintain a soft, feminine appearance. Learn how with these five easy steps!

Is that a woman, or a man dressed as a woman? Do you find yourself in situations where you transgender detector's ring like mad?

Passing as a woman doesn't have to be hard and require months of practice. Here are 19 simple tips for crossdressing that will help you pass as a woman.

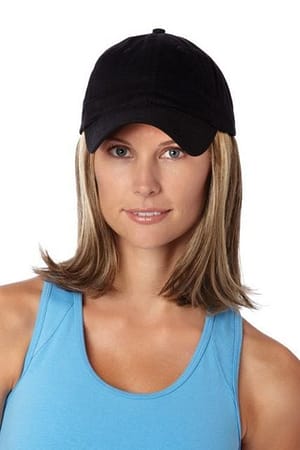
Wigs are a crossdressers best friend, but can also prove quite tricky to keep in place and look natural. Find out how.

Crossdressers will find how-to steps in applying makeup properly and easily. Crossdressing makeup tips on how to apply foundation, concealer, eye makeup, blush, and lipstick.

Crossdressing with a beard is hard! Learn these CROSSDRESSER HAIR REMOVAL techniques for smooth, sexy skin.

Crossdresser Halloween Costumes
Crossdresser Halloween is almost here. The one day a year we can wear sexy skirts and high heels without worry. Get your crossdressing halloween costume today!

Recent Articles
Recent Posts

@marriedcrossdresser513 Welcome Kayla, so much love and...
By Samantha Marie , 4 mins ago
Support Our Sponsors


We may receive a commission for purchases made through links to our sponsors. This helps us maintain Crossdresser Heaven and provide a safe, welcoming and supportive place for the community.
Featured Members
Meet the featured members for this week. Click their profile photo and send them a note to say hi!
Featured Products


Recent Comments