- This topic has 6 replies, 4 voices, and was last updated 2 years ago by
 Samantha Roarke.

- AuthorPosts
- July 5, 2021 at 3:55 am #513348
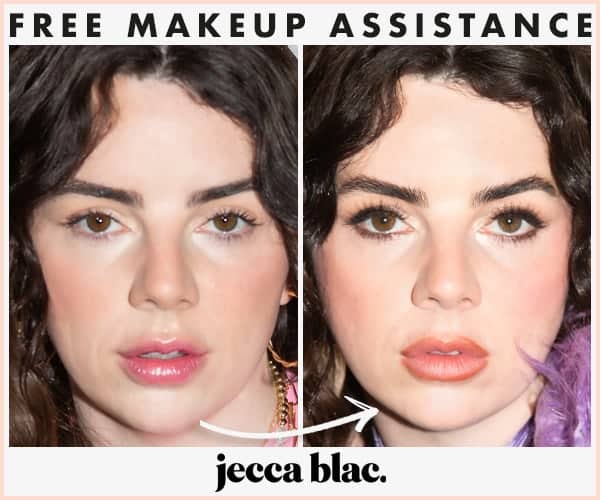
I struggle with doing my eyes consistently well when do my makeup. Can anyone suggest a great video tutorial for eye make up?
Hugs and Kisses
Candace
- July 5, 2021 at 4:48 am #513360
What are you trying to bold and bright. Smokey evening. Or subtle day time.
- July 5, 2021 at 11:33 am #513539
Mainly a Smokey evening look
- July 5, 2021 at 6:10 am #513382
You might like to watch some of the videos put out by “Sixty and Me”. There is a good selection of eye makeup videos there.
https://www.youtube.com/c/sixtyandme/search?query=eye%20makeup
- July 5, 2021 at 9:20 am #513469
People have ask me how do I apply my make-up and what products do I use when I apply it. So here is the easy 10 step process of MY makeup application routine, I know everyone has their own way, and I may be applying my makeup 100% wrong, but once again this is what works for ME. I will do my best to explain all MY steps, and the products/brushes I use in the best detail that I can.
Face Prep: I wash my face really well, and shave with a fresh sharp razor. We want a fresh clean oil free platform to work with. So lets begin the show!
Step 1: Start with a basic pore filling primer. I just use my finger to apply the pore filler around/on my nose, forehead and cheeks. Pretty much anywhere my pores are huge is where I apply the pore filler! (Product: Maybelline: Baby Skin Instant Pore Eraser Primer)
Step 2: False Lashes. I glue my false eyelashes on at this time, this allows me to fumble around with them and not mess up my makeup. Use a small amount of lash adhesive on the false lashes, wait about 30-60 seconds then apply them to you eyelids. Sometimes I’ll use the back of a small brush to push the false lashes into place on my eyelid. (Product: MAC: 33 Ingenue lashes, Kiss: Ever EZ Lash Adhesive)
Step 3: Foundation. Apply the foundation with a basic egg shaped Sponge Blender. The foundation should be applied lightly all over the face and applied thicker around the beard area of my face. Concealer is also applied lightly under eyes and heavy around the beard area. Make sure that the products blend well, you don’t want to have streaks on your face. (Product: MAC: Full Coverage Foundation NC35, MAC: Studio Fix 24-Hour Smooth Wear Concealer NC25, Basic Egg Sponge Blender)
Step 4: Powder and bronze. I Lightly dust loose powder all over my face and neck with a large powder brush. Then I add bronzer to the outer edges of my face using a contour brush. Don’t go crazy this is just to contour a little bit. (Product: MAC Studio Finish Face Powder, Physician’s Formula Murumuru Butter Bronzer, Brushes: Tweezerman iQ Powder Brush, Urban Studio kabuki contour brush)
Step 5: Blush. Smile and very lightly apply on the “apples” of your cheeks. Don’t put too much or you’ll look like a clown. I sometimes will just finish with one to two light brushes on the nose too. (Product: MAC Mineralize Blush, Brush: Tweezerman iQ Blush Brush)
Step 6: Eye brows. I draw a nice arch for each brow with a small sharp angle brush using dark powder, then go back with a light brown to blend the two colors. (Product: WetNWild Ultimate Brow Kit, Brush: MAC 263)
Step 7: Eye shadows! I love them, I use three different brushes when I apply eye shadow, one brush for each shade. I start with a dark shade of eye shadow on the main part of the eyelid. Then apply a darker shade than the first one used in the crease of the eyelid. After this I use a light shade on the brow bone area. Next, I layer and blend the shades to get the colors to my liking. Last, I use a small brush with a touch of pure white in the inner corner of my eyes this just makes the eyes “pop” Don’t believe me? Try it! (Product: MAC Pro Eye Shadow (Pro Palette Refill Pans, Brushes: MAC 239/219/224)
Step 8: Eye liner. I start by pulling the outer corner of my eye with my finger then draw a small width line on each I use a liquid liner. I only do the top lid, do the bottom if you like, I do not. (Product: Clinique: Pretty Easy Liquid Eyeliner Pen)
Step 9: Mascara. I use light strokes and not too much mascara on the wand, I don’t want clumps on my lashes. Just coat the lashes, top and bottom, remember it’s not a race, take your time. I sometimes will do the blink trick to apply: hold the wand close to the underside of the lashes and then just slowly blink your eye. I use two different products, both work well. (Product: MAC: In Extreme Dimension 3D Black Lash Mascara/ Clinique: High Impact Mascara)
Step 10: Lipstick is last and ALWAYS is for me. Start at the bottom lip apply to the middle blot then reapply blot again. Fill in the missing areas. Make sure you don’t go all the way to the corner of the mouth or you look like the Joker. I match colors depending on the outfits. I use a few different products (Product: MAC Liquid lips, and standard MAC lip stick)
Double check everything, you may want to add a little powder here and there, but looking in the mirror….You’re amazing!
Aftermath: So we NEVER sleep in our makeup ladies….EVER!
Removal, I start with removing the fake lashes first. Next, make-up removal wipes to remove the bulk of it. After that, I use round cotton pads with miceller water. Once everything is pretty much gone I finish with “take the day off” to totally remove the makeup. Now that you have all that makeup off, use a nice face cream to protect that pretty face of yours. (Product: Neutrogena: Ultra-Soft Makeup Remover Wipes for Waterproof Makeup/Garnier SkinActive Micellar Cleansing Water/ Clinique: Take The Day Off Makeup Remover For Lids, Lashes & Lips)
- AuthorPosts
- The forum ‘Fashion Beauty & Makeup’ is closed to new topics and replies.


Recent Comments